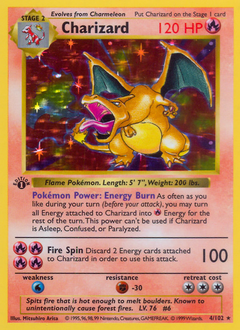
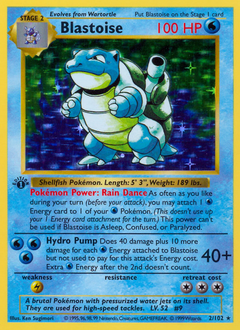
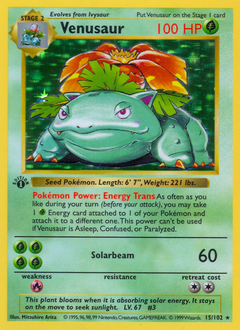
The Problem Every Collector Knows
You pull an amazing card. You want it in your binder. But where? You open your binder, realize everything needs to shift, and suddenly you're spending an hour moving 200 cards around.
Sound familiar? You're not alone. Binder organization is one of the most discussed (and most frustrating) topics in the Pokémon TCG community.
The fix isn't better sleeves or a better binder. It's planning your layout before you touch a single card.
5 Layout Methods That Work
1. Set Number Order (The Classic)
Organize every card by its set number, the number printed in the bottom corner. This is the completionist approach.
Best for: Master set collectors who want every card from a set in order.
Pros: Easy to spot gaps. Satisfying when complete.
Cons: Every new pull means shifting cards down. High reorganization fatigue.
2. Pokédex Order
Sort by National Pokédex number instead of set number. All your Charizards live together regardless of which set they're from.
Best for: Pokémon fans (not just card collectors) who think in terms of their favorite Pokémon.
Pros: Intuitive. You know roughly where everything is, and new cards slot in naturally.
Cons: Multiple cards of the same Pokémon need sub-sorting.
3. Type and Color Grouping
Group cards by type, so all Fire types sit together and all Water types sit together. Within each type, arrange by whatever looks best.
Best for: Visual collectors who want pages that feel cohesive.
Pros: Pages look incredible. A full page of Water-type blue cards is stunning.
Cons: Requires planning to get the right number of each type per page.
4. Themed Pages (The "Vibe" Method)
Forget categories entirely. Build pages around themes like "Sunset Battle," "Ocean Floor," "Legendary Trio," or "Charizard Evolution Line."
Best for: Collectors who treat their binder like a gallery, not an inventory.
Pros: Every page tells a story. Most visually impressive method.
Cons: Needs the most planning. You need to visualize how cards look together before committing.
5. Rarity Tiers
Front of the binder holds chase cards and secret rares. The middle holds holos and full arts. The back holds regular rares and commons worth keeping.
Best for: Collectors who want to show off their best pulls first.
Pros: Great for showing friends. Your most impressive cards are always easy to find.
Cons: The back of the binder can feel like an afterthought.
The Secret: Plan Digitally First
Whichever method you choose, the number one mistake is trying to organize by trial and error with physical cards. You end up:
- Moving cards multiple times
- Realizing a layout doesn't work after you've already sleeved everything
- Getting frustrated and giving up
Instead, plan your pages digitally first. Search for the cards you want, drag them into a page layout, see how they look together, then arrange your physical binder to match.
Tools like AuraBinder let you do exactly this. Search the full Pokémon card database, drag cards into 2×2, 3×3, or 4×3 grids, and preview how pages will look before you commit. It even shows market prices so you can plan purchases.
Which Method Should You Choose?
- New collector? Start with Set Number Order. It's simple and gives you clear goals.
- Displaying your favorites? Go with Themed Pages or Type Grouping.
- Completing a set? Set Number Order or Pokédex Order.
- Showing off to friends? Rarity Tiers with your best cards up front.
There's no wrong answer. The best binder is one you enjoy looking through.